I recently picked up a new hobby- loom knitting! Not sure how I missed it before, the hats are done quickly and easily and turn out beautifully!! I had seen a loom knit hat at a local craft show and the lady running the booth showed me her loom and how she was working a new hat.
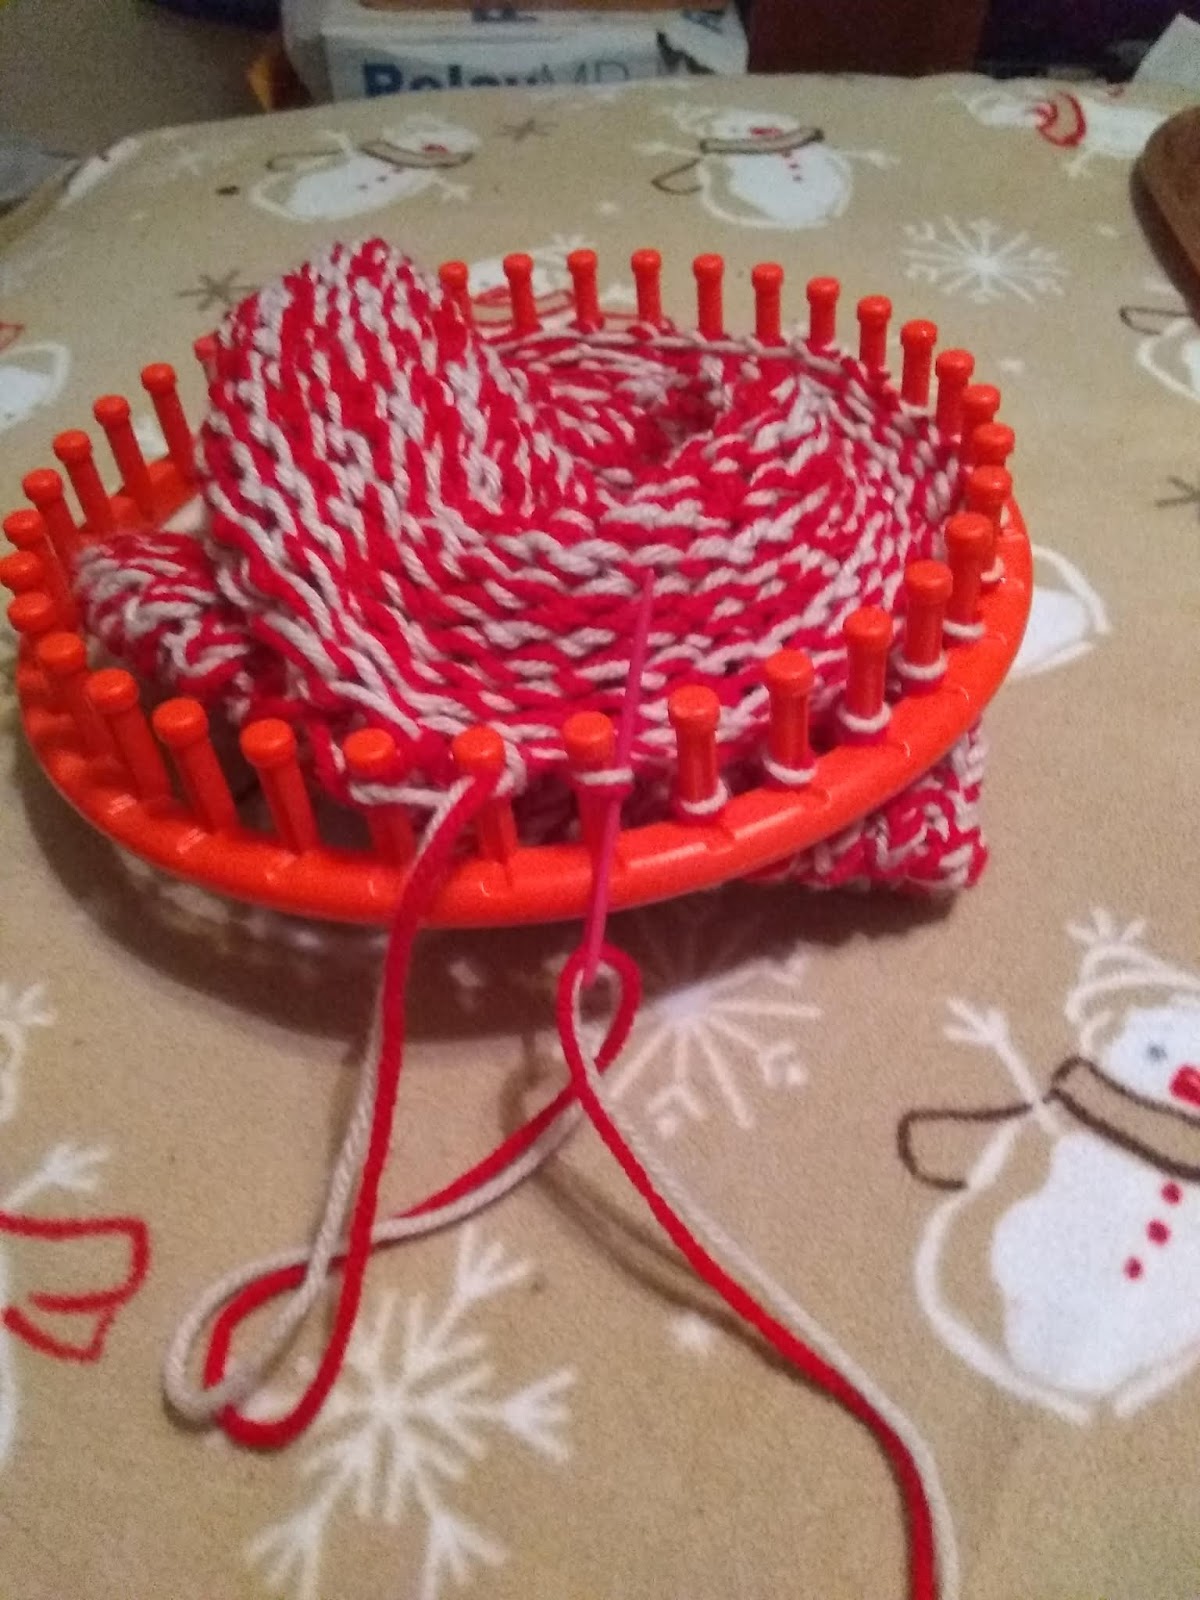
So, armed with my handy dandy Michael's 50% off coupon headed out and got myself a Knit Quick Knitting Loom Set by Loops & Threads. I have tons of yarn at home, so my first round was with some red and beige Red Heart yarn from the closet. The kit came with four different sizes, I used the orange loom, the second largest size (9.5 inch/24cm.) the other sizes were 5.5 inch, 7.5 inch and 11.3 inch.
I am no expert, but here is my condensed version of how to make a hat. There are plenty of videos out there if you need more information..
I used two strands of yarn together, my red/beige combo.
Start by slip knot and attach the yarns to the side peg, then wrap the yarn around each peg in an "e" all the way around, then continue around a second time so each peg has two loops (of the red/beige combo loop) on it. Then I used a clothespin to secure the yarn ends so it does not unravel. Then using the hook provided in the kit, slide the lower two loops over the top two loops, up and over to the middle.. leaving one red/beige loop on the peg.. do this all the way around. This makes a row of "Knitting." Repeat .. these two steps over and over...
I ended up doing my counterclockwise, but you could do it clockwise.
If you want a brim, and I do like the way the brim looks, that takes a few extra steps. So once you do enough rows to measure about 3 inches ( or however twice as big as you want the brim to be) go inside the loom and bring up the first row and place the loop from the bottom row over the corresponding peg, then the second loop on the next peg and so on. This folds up the bottom to form the brim. Then pull the bottom loop over the top loop all the way around, the continue looming until you get it big enough. I did mine about 9 inches long.
ENDING---Once big enough/long enough, measure out about 18 inches of yarn and cut it. Using a plastic craft needle on the yarn, use the yarn and slide the needle under the yarn loop and up through the first red/beige combo loop. Then next stitch then continue all around. You can lift the loop off the peg once it it threaded. At the end, pull the yard through to the inside and pull to tighten up the top of the hat and secure with square knot and weave in the ends. Make your pom-pom and apply!!!
I liked it so much, while my first love is crochet, if you want something with no counting or keeping up with stitch changes, this if for you! I liked it so much, I made a blue one of some soft yarn that I had used some for Baby items. I used two strands again. It was soft, but not as thick or firm as the first one. If feels a little flimsy to me, but looks great. I didn't time how long it took, but started one evening and finished the next evening after work. I really want to try one strand of bulky yarn and have purchased aqua colored Yarn Bee super bulky "6" weight. I can't wait to get started..
Let me know what you think!