Wednesday, March 6, 2013

Key Chain attachment - repurposed credit card/gift card


I saw this and it sounded easy and fun.  So I got a junk mail card, Mod Podge and other supplies together.  Of course, living in Alabama, my Hounds tooth scrapbook paper came in handy.   I had the self adhesive letters and numbers in my scrapbook box.   You can use old gift cards, credit cards or debit cards.


I cut the card in half, rounded the sharp corners and sanded them to match the other side. 
Then traced the half card on the back of the Hounds Tooth paper and cut it out. 


Then Mod Podged the paper to both sides. [ Next time I will use one piece and fold it over and overlap on the back.] Punched a hole in top for key chain.  Then applied thin layer Modge Podge.   


 then the fun part...


Added peel and stick numbers for my extension on the back....
 
And added Jill's keys... just in cast they get misplaced. ... I then coated several layers of Modge Podge.

Final results- turned out really cute!!


My  new identification tag on my keys.  These ended up being longer than my keys, which is OK with me.  But it could be cut in half lengthwise to make it shorter and more compact. 

Will try and make some more when I have some time.  I would like some more heavy duty scissors to cut the cards with.  
: )


Small yellow and fuchsia Crocheted Bag

I made this yellow bag, same directions as the blue bag, just used a smaller crochet hook.  Of course the stitches are more tight and it has a more compact feel..

 It turned out so beautiful! 

Right now, I use the blue one at work to carry my laptop charger. The yellow one is OK and my charger fits, but barely.  The girls at work all comment on how pretty they are.   In the spring, I will use the yellow one as a purse.

This is not my pattern, it is one I found at "The C side' site /chocolatemintsin in a jar.  It says I can not sell or distribute the pattern.


Re-Purposed "Cuties" container

I had and idea for the container our fruit came in.   I bought a recipe book at the thrift  store for a dollar.  Removed as many nails from the wooden container. The Modge Podged pages I removed from the recipe book onto the inside and outside of the container.  I just used lots of colorful desserts mainly.  Just cut them out, mostly geometric shapes. I just fit it as I went, just knew I wanted the chocolate cake on the bottom and the strawberries on the front!!!   [ Next time, I will do the edges and corners first with smaller pieces, then add the bigger pieces to the sides and bottom.]  Then, over several days, I applied several layers of Modge Podge. 


 Cutting up my thrift store book.


Finished product!!

I had fun doing this, and would do it again.  Now to figure out what to do with this.  Right now, I put my Tupperware lids in it to keep them organizied.


Tuesday, February 5, 2013

Small hand decorated shelves for coffee mug display


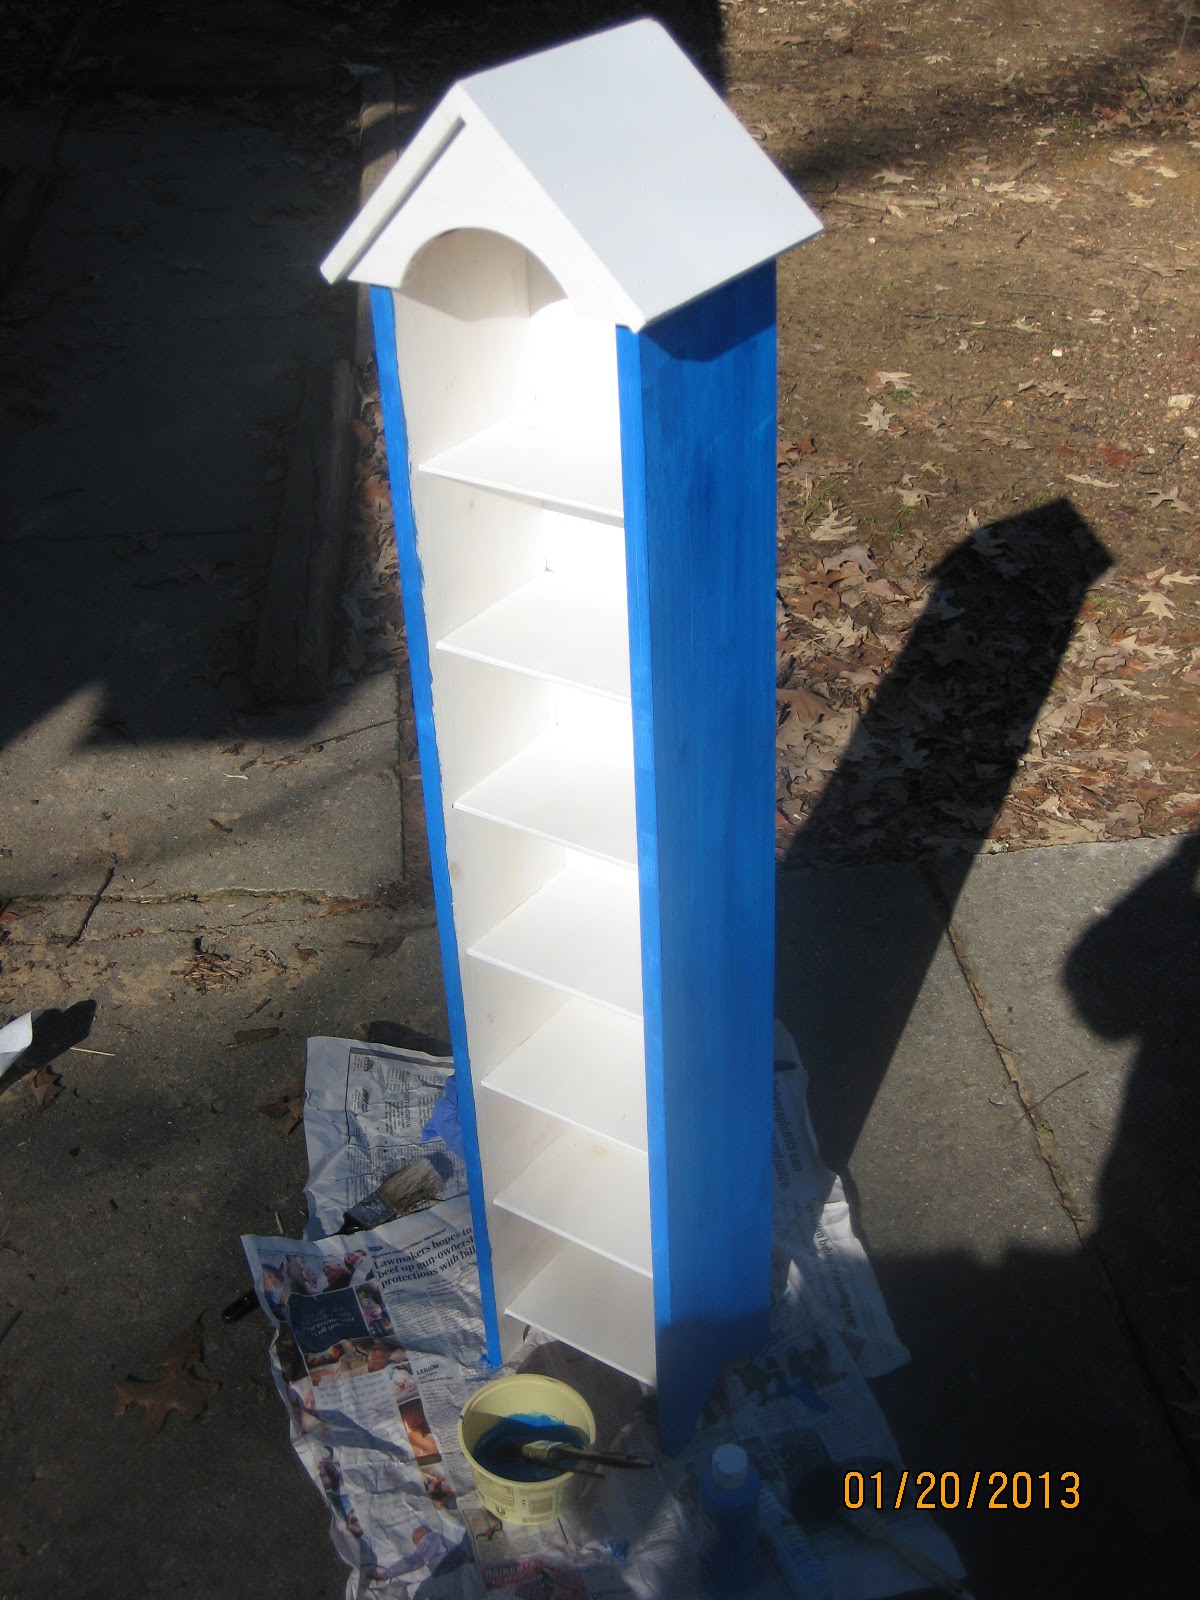
I found this white shelf at the thrift store.  I checked and DVD's fit in it, but I had other plans.


First, painted the outside dark blue with acrylic paint, needed two coats to look nice

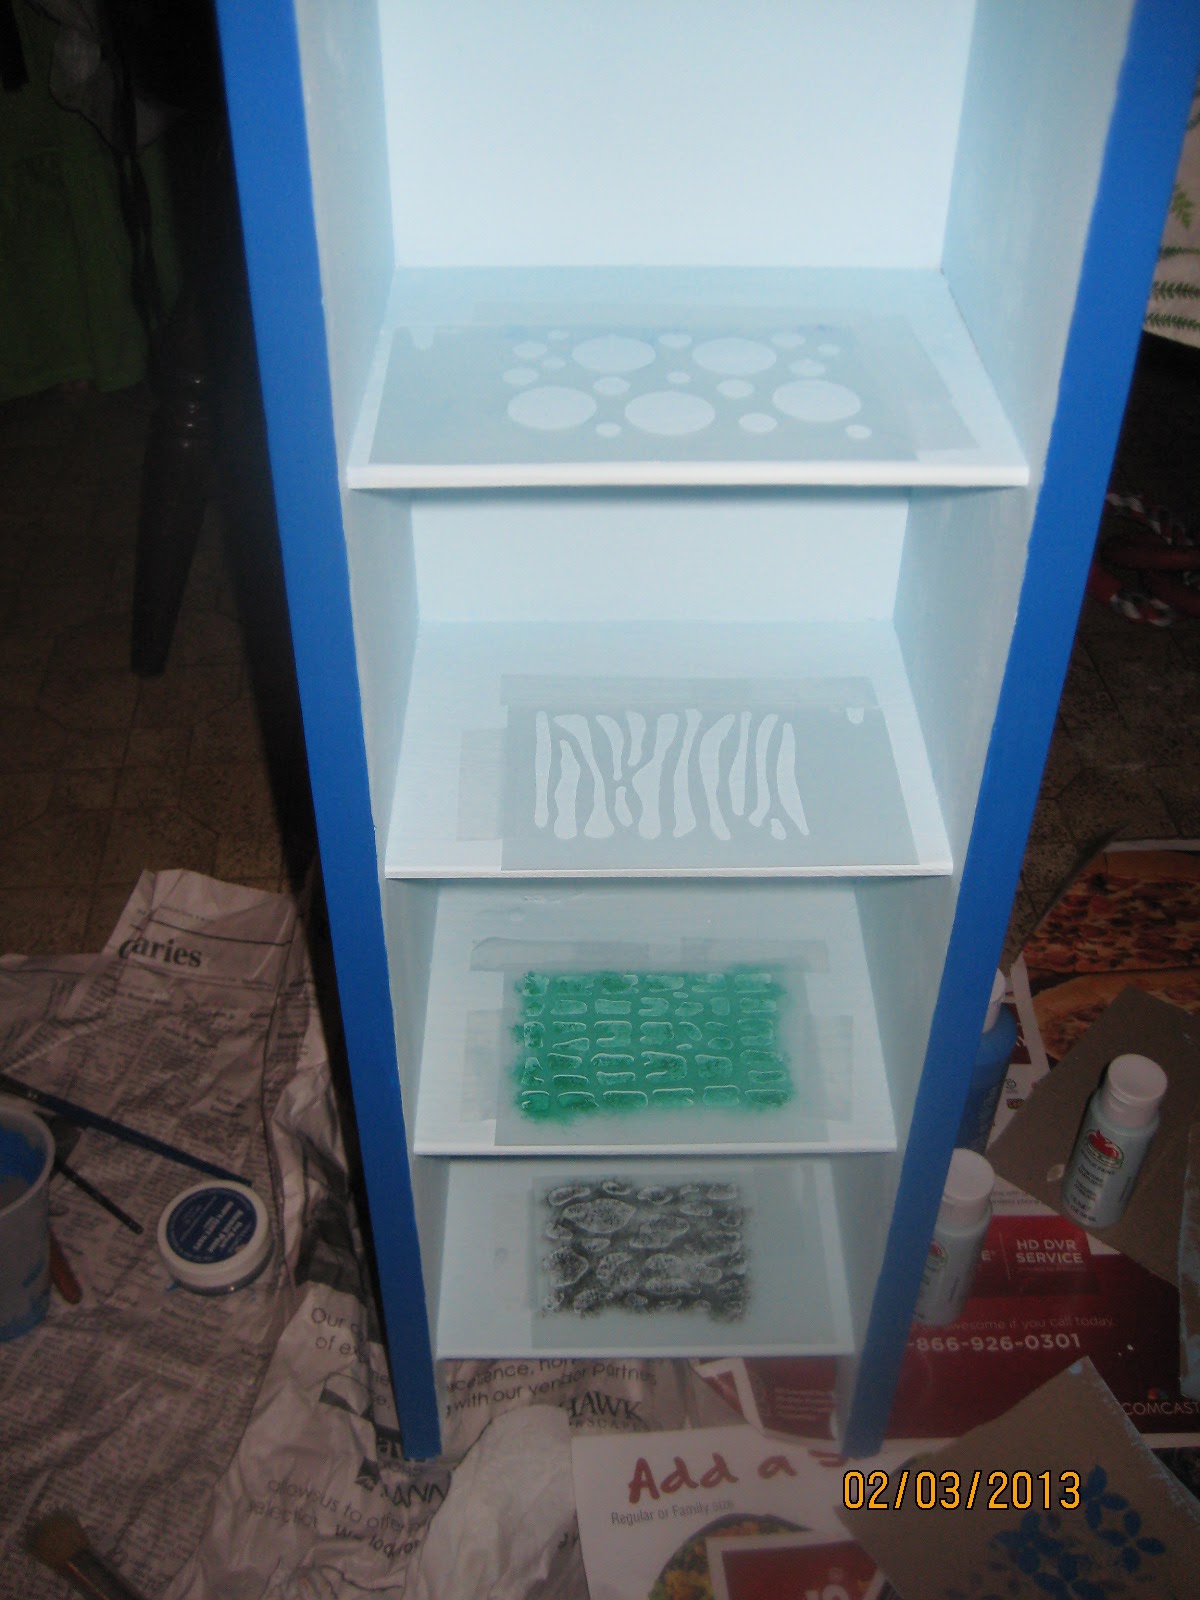
 The painted the inside light blue.  I was going to paint each shelf a different color, but midway changed my plans.

 Instead, saw some stencils for around $3 and stenciled each shelf a different stencil and a different color (bought small sample pack of acrylic paints for a few bucks.)

 Painted a wooden butterfly I saw when picking up the paint.........would have preferred a bird, but there were none.  

 The stencils were easy, just had to use the special stencil brushes I had used years ago when I stenciled my daughter's room.

 It was fun picking the different design and color for each shelf!

Taped the stencils down and went to town.  

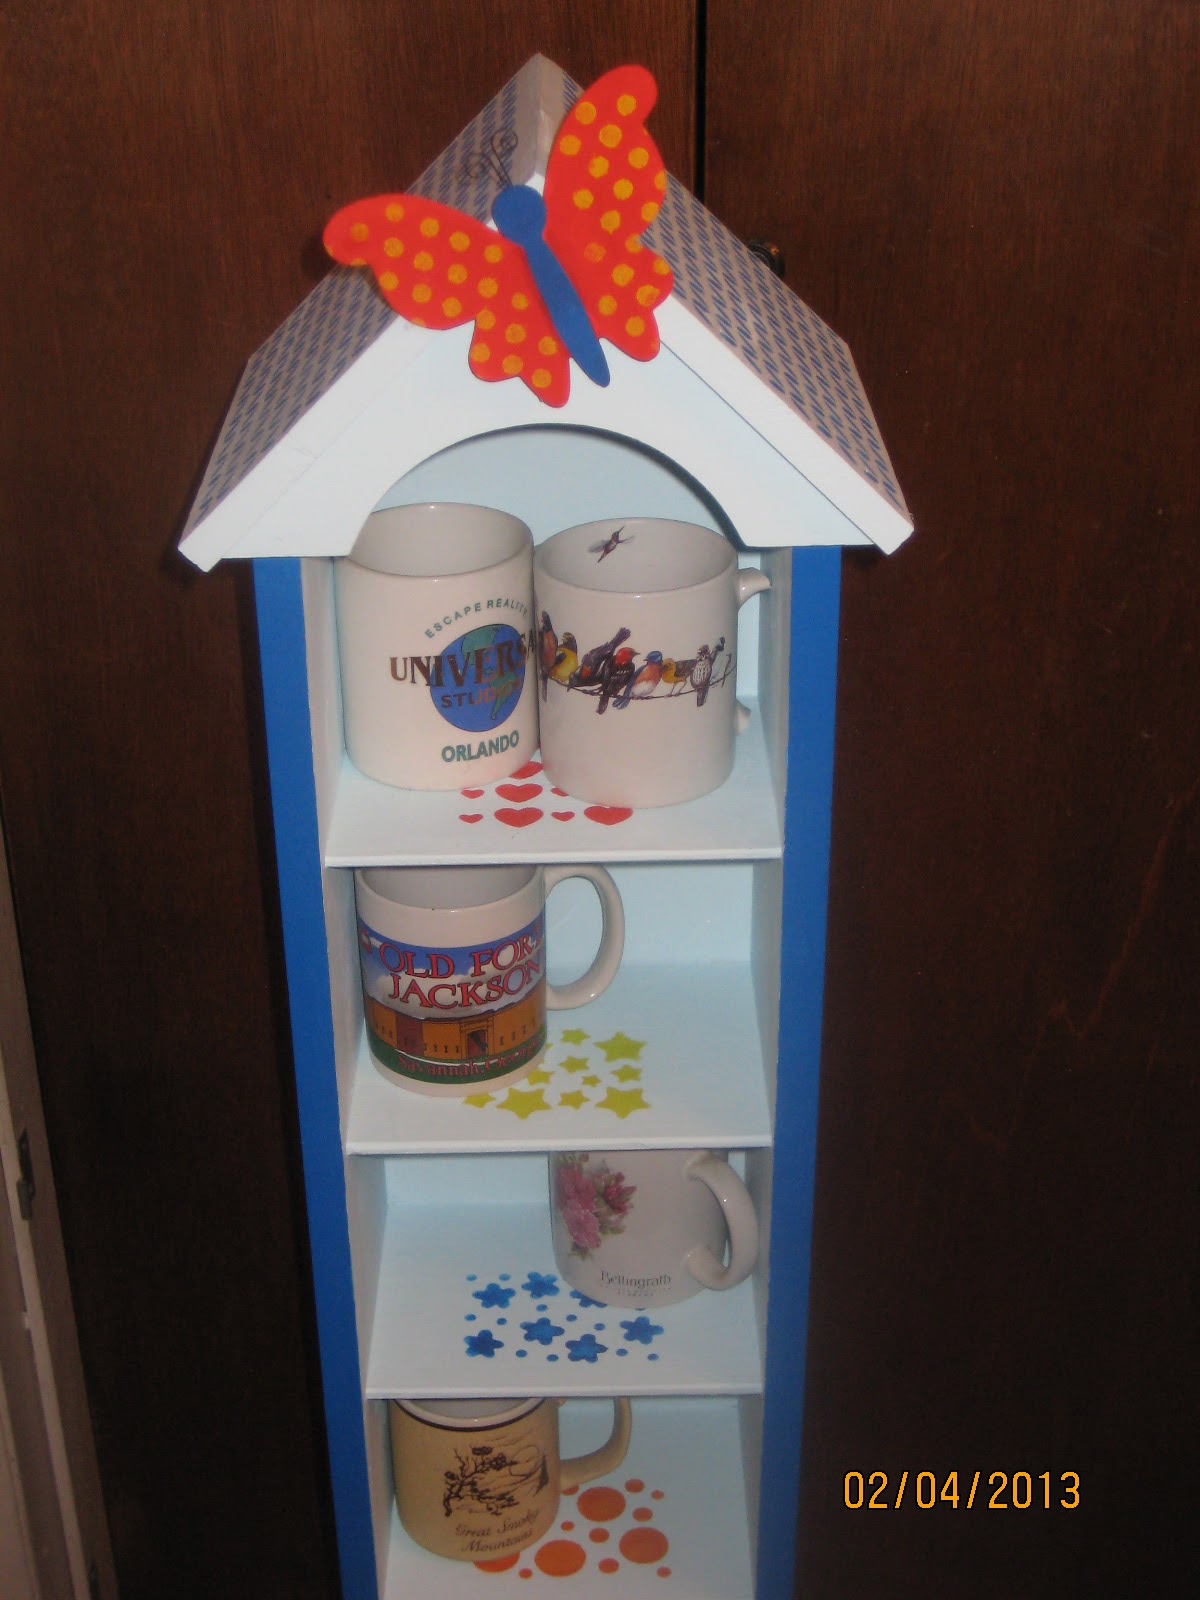
Stenciled the blue design on the 'roof' the same shade as the outside.

 Attached Mrs. Butterfly with some good tacky glue...... so tempted to add eyes.. but did not for fear of making her not beautiful...Her yellow dots are stenciled on.

 Finished product

 ...and added my coffee mugs, collected from over the years.


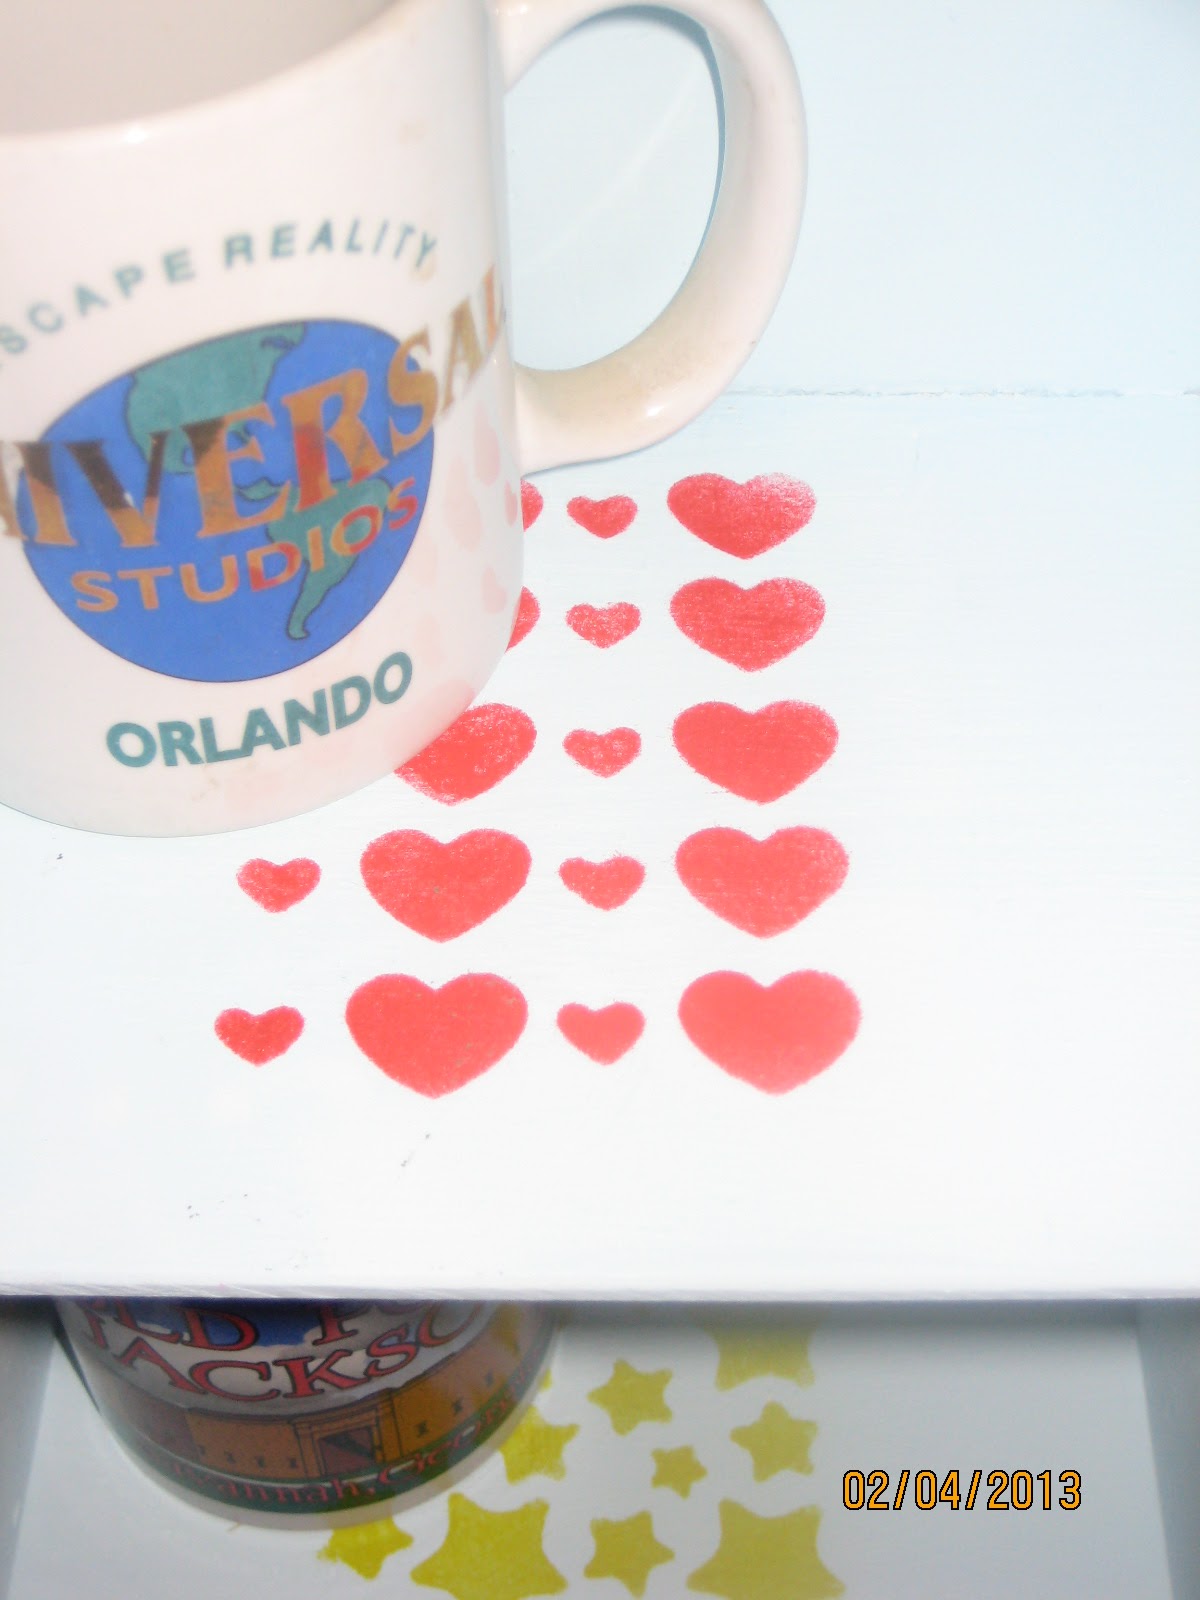
Close up 


 Close Up


Final Project, side view!!

It was a fun project, I just had to do it in sputs on my days off from work.  I can always take off the cups and stack it full of CD's or DVD's.


Friday, January 18, 2013

DIY decorated candle holders

Had fun with this... got my thrift finds, Epsom Salt and Mod Podge

Apply the glue....carefully
Roll the candle holder in the Epsom Salts....

Let dry!  Enjoy:)

Thursday, January 17, 2013

Crocheted Handbag, blue with flowers

This is a small handbag I crocheted, started on Friday and finished on Monday. Right now using it to hold my charge cord for my laptop at work :) Put a piece of cardboard covered with leftover fabric in the bottom. It went pretty fast. Started a new yellow one this week.

First you crochet the flowers....
Then the bottom......
Join together... finish the upper portion and the handles.

This is before blocking.

Sunday, January 6, 2013

Jill's Thrift store homemade Pencil Holder

How I made a pencil holder from my thrift store treasure. Step 1-->gather supplies: Thrift store glass, Mod Podge, scrap of material.
Step 2--> Cut the fabric scrap to wrap around the cup, Leave and inch or so on the end and leave a little at the side to cover the lip of the cup. Apply Mod Podge to glass, the wrap the fabric around, keeping the end straight on the bottom edge of the glass, pressing out wrinkles. Turn over the top end of the fabric to make a neat straight line up the side of the cup, you have to angle it. Also apply Mod Podge to the inside lip of the cup and fold the fabric over.
Step 3--> Trace an outline of the base of the glass the back side of the fabric, cut out and apply to the bottom of the glass with Mod Podge. After doing this, decided that THIS should have been the first step, then you could cut a bigger circle then cover it with the bigger (first) piece. Press down and smooth out and make sure there are no wrinkles.
Step 4--> Let dry, fill with pencils and pens. It took about 10 minutes. I thought about Mod Podging another coat on the top of the fabric, but decided not to. Also thought about 'lining' the inside of the glass, but nixed that idea, too. I just love the purple and green colors of this fabric.
These are a few of my Thrift store "finds" this weekend. Planning on making a pencil holder from one and decorate the other items as some cute candle holders. Found and idea I want to try out and 50 cent pieces to start with. I have one more not pictured, a name cup for a friend at work. I live entirely too close to the thrift store! ****************************************************************************************************************************************************************************************************
This I found and plan on cleaning it up and decorating it to have somewhere to display my coffee cups I collect when I travel, some people give them to me. I don't use them routinely and would like to get them out of my cabinet. The "birdhouse" I have knicknamed it looks homemade and is a little wobbly, will have to fix that. I bought some paints today, but ran out of time to get started. Kept shifting between stenciling the sides, painting each shelf a different color, stenciling each shelf, adding small birds of some type, etc. Today, I have decided on two shades of blue, the lighter blue on the shelves and have one butterfly to add to the roof somewhere. Waiting for warm weather to do this outside. Will see how it goes.

My other afghans

<
These are three other afghans I have crocheted. With the top one, I was using up extra yarn left over, the had to get more white to finish it!! Can you tell one of my favorite colors is purple?? The middle one just kept getting bigger and bigger, I kept on making more squares and it worked out. The bottom one was an easy "old" stitch that I found.

Tulip Wreath

 I made a tulip wreath.  Metal wreath- Dollar Tree, Ribbon- (needed 2) -Walmart Tulips - Hobby Lobby Green mesh(already had at home in craft...