Tuesday, December 31, 2019

My new Hobby-- Loom knitting hats

I recently picked up a new hobby- loom knitting!  Not sure how I missed it before, the hats are done quickly and easily and turn out beautifully!!  I had seen a loom knit hat at a local craft show and the lady running the booth showed me her loom and how she was working a new hat. 

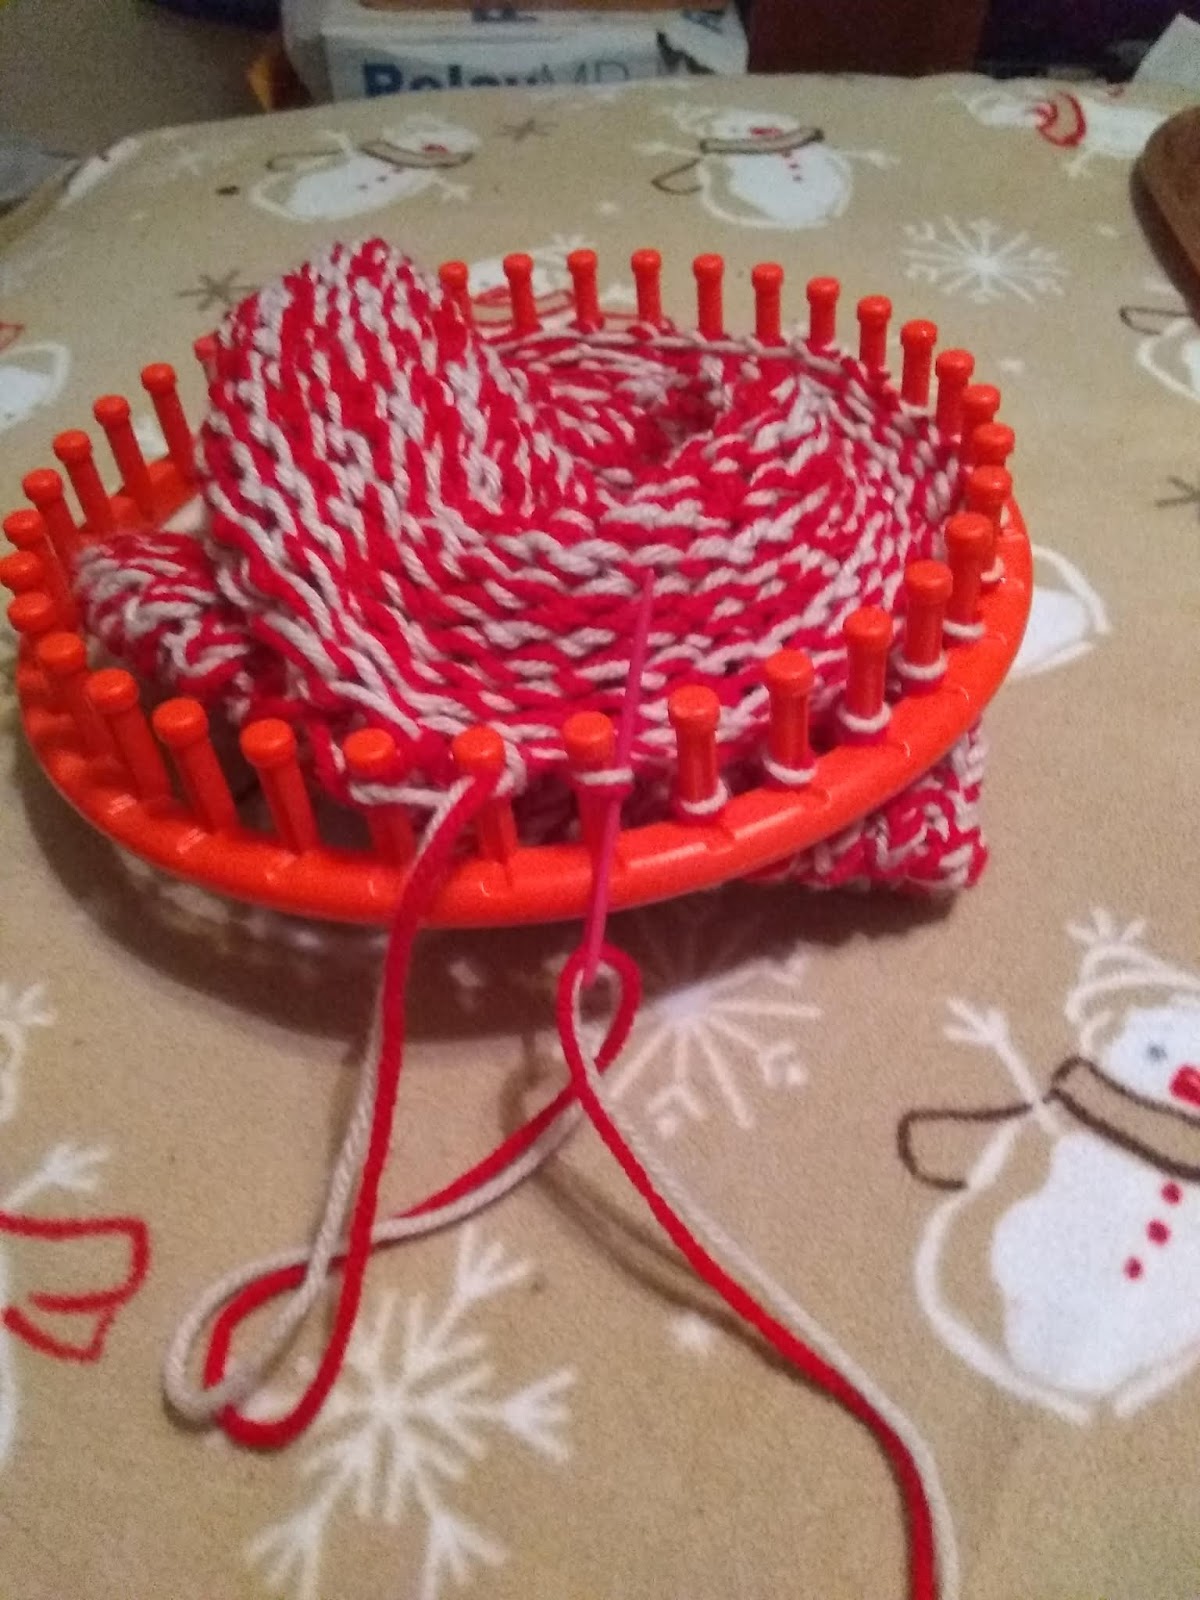
So, armed with my handy dandy Michael's 50% off coupon headed out and got myself a Knit Quick Knitting Loom Set by Loops & Threads.   I have tons of yarn at home, so my first round was with some red and beige Red Heart yarn from the closet.    The kit came with four different sizes, I used the orange loom, the second largest size (9.5 inch/24cm.)  the other sizes were 5.5 inch, 7.5 inch and 11.3 inch.


I am no expert, but here is my condensed version of how to make a hat.  There are plenty of videos out there if you need more information..     

I used two strands of yarn together, my red/beige combo.   

Start by slip knot and attach the yarns to the side peg, then wrap the yarn around each peg in an "e" all the way around, then continue around a second time so each peg has two loops (of the red/beige combo loop) on it.  Then I used a clothespin to secure the yarn ends so it does not unravel. Then using the hook provided in the kit, slide the lower two loops over the top two loops, up and over  to the middle.. leaving one red/beige loop on the peg.. do this all the way around.   This makes a row of "Knitting."  Repeat .. these two steps over and over... 

I ended up doing my counterclockwise, but you could do it clockwise.   

If you want a brim, and I do like the way the brim looks, that takes a few extra steps.  So once you do enough rows to measure about 3 inches ( or however twice as big as you want the brim to be) go inside the loom and bring up the first row and place the loop from the bottom row over the corresponding peg, then the second loop on the next peg and so on.  This folds up the bottom to form the brim.  Then pull the bottom loop over the top loop all the way around, the continue looming until you get it big enough.  I did mine about 9 inches long.


ENDING---Once big enough/long enough,  measure out about 18 inches of yarn and cut it.  Using a plastic craft needle on the yarn, use the yarn and  slide the needle under the yarn loop and up through the first red/beige combo loop.  Then next stitch then continue all around.  You can lift the loop off the peg once it it threaded.  At the end, pull the yard through to the inside and pull to tighten up the top of the hat and secure with square knot and weave in the ends.  Make your pom-pom and apply!!!    


I liked it so much, while my first love is crochet, if you want something with no counting or keeping up with stitch changes, this if for you!  I liked it so much, I made a blue one of some soft yarn that I had used some for Baby items.  I used two strands again.  It was soft, but not as thick or firm as the first one.   If feels a little flimsy to me, but looks great.  I didn't time how long it took, but started one evening and finished the next evening after work.    I really want to try one strand of bulky yarn and have purchased aqua colored Yarn Bee super bulky "6" weight.    I can't wait to get started.. 

 Let me know what you think!  


Friday, December 30, 2016

"Free" Sewing Machine

 Got a free Sewing Machine

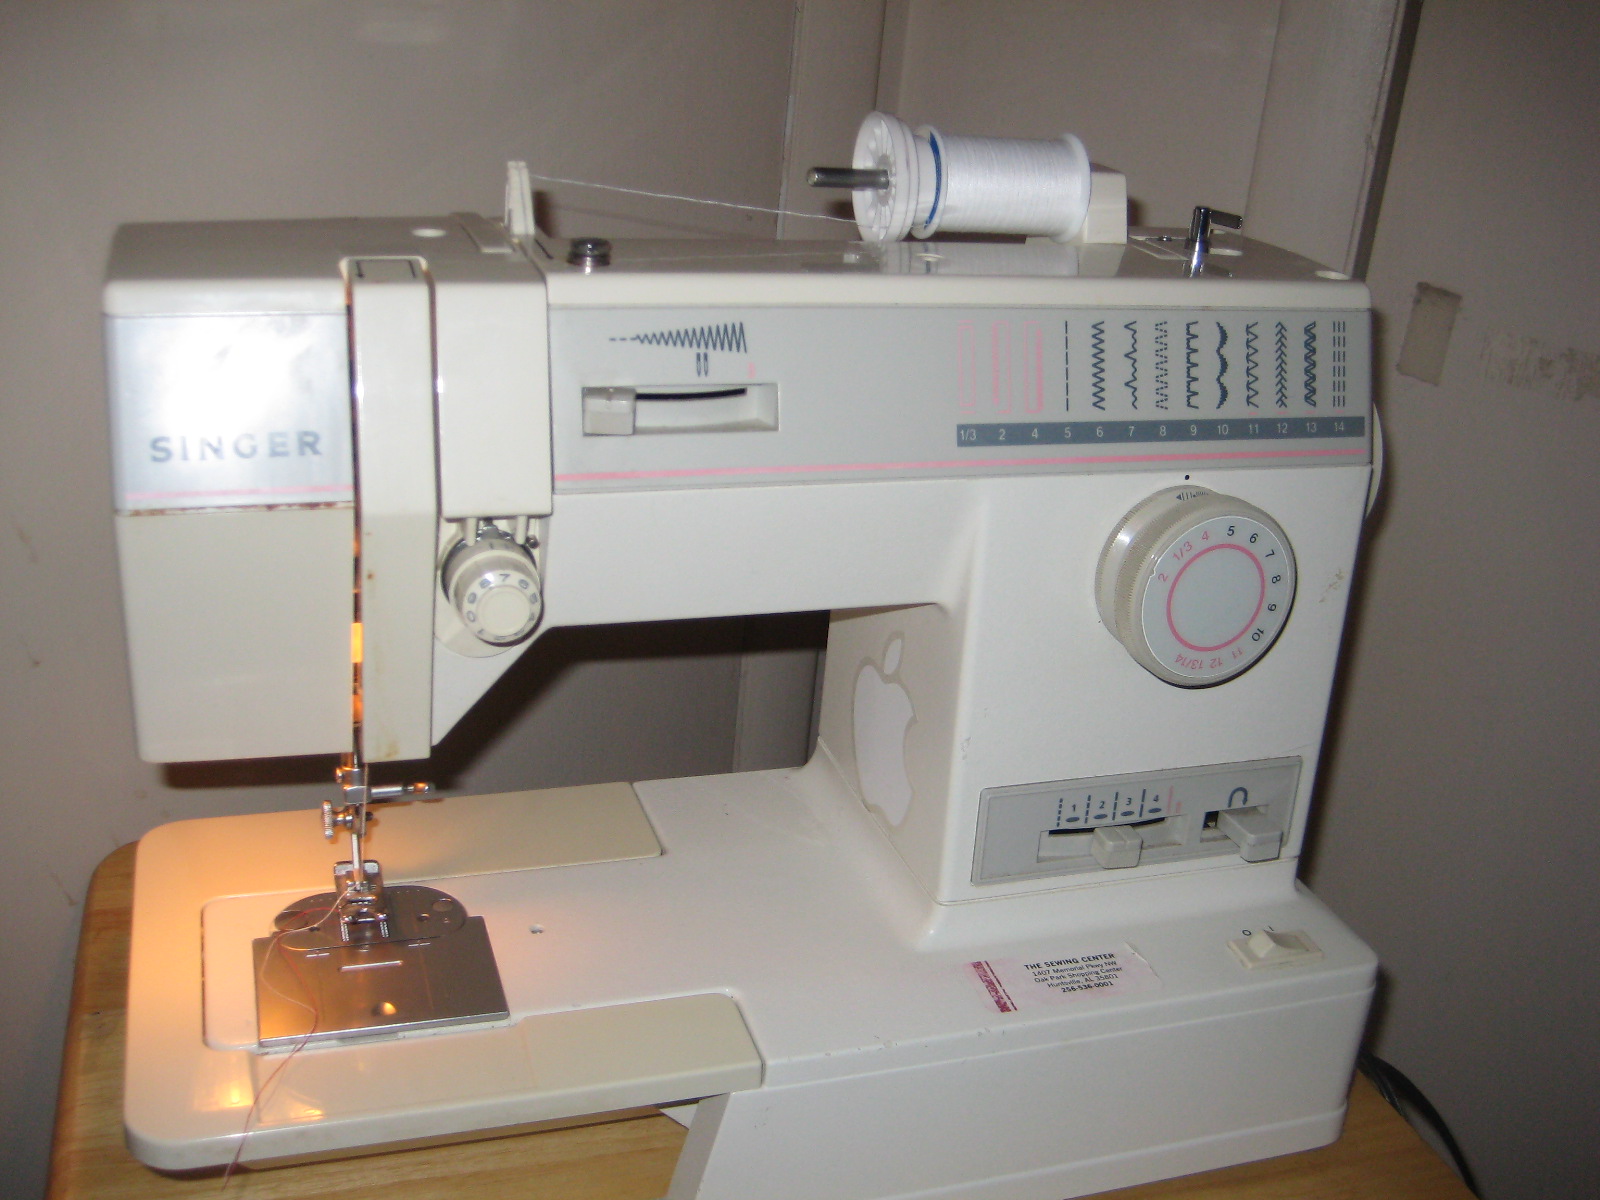
Three days ago, when I got home from work, my husband said, "I think there is a sewing machine on the street a few blocks over. What do you think, should we go get it?" Surely not anything any good, but we went and got it - machine and the cabinet, too. The cabinet legs were wobbly (solved be a few turns of the wingnuts) and the machine looked grimy and dusty. Took cabinet legs off to take home. Of course no one would leave a good sewing machine on the street with chair a...nd couch, right?? Got it home-cleaned it up and plugged it in, the light came on!! Yeah! The needle moved! Yeah!! Wait, that was a steady quiet hum, no hurky -jerky noises. Then I got a material scrap and looked up how to thread it (have not had a top load bobbin before) and let her go-- it did not miss a stitich!!! Wow-- what a find. Was able to google an instruction booklet online. A girl can always use another Sewing machine, right?? I have the best hubby. Now to find a place for it..


The cabinet


Thursday, February 6, 2014

Houndstooth Scarf

I found a cute pattern for Houndstooth scarf and being from 'Bama could not resist!


It was easy to make and took about 4 or 5 evenings.  If make again, will use a more softer yarn.

Here is a link to the pattern:  http://elkstudiohandcraftedcrochetdesigns.com/2013/01/23/excited-about-crochet-patterns/ 

Saturday, January 4, 2014

I had and idea for the container our fruit came in.   I bought a recipe book at the thrift  store for a dollar.  Removed as many nails from the wooden container. The Modge Podged pages I removed from the recipe book onto the inside and outside of the container.  I just used lots of colorful desserts mainly.  Just cut them out, mostly geometric shapes. I just fit it as I went, just knew I wanted the chocolate cake on the bottom and the strawberries on the front!!!   [ Next time, I will do the edges and corners first with smaller pieces, then add the bigger pieces to the sides and bottom.]  Then, over several days, I applied several layers of Modge Podge. 


 Cutting up my thrift store book.


Finished product!!

I had fun doing this, and would do it again.  Now to figure out what to do with this.  Right now, I put my Tupperware lids in it to keep them organizied.


Staf Fish Dishcloth --

Easy to make, made two in different colors for my sis-in-law.  They live in FL, so perfect décor for there!!


Want to make some more!!!

Baby Bibs --these are several I've made for friends who have babies!!

Teddy had to try on!!
 
For Brittany at work
 

For Brittany at work


TWINS!!


For Cora at work!!


For Carolyn at church..


Now that we know the baby's name!!!


Refinsihed table -Bird design

Got this at a local thrift store.  It was in fair shape.   Cleaned it up, lightly sanded.

First the white paint, rethinking should have done Kilz. then painted. Took several coats.


Tape Bird template in place (Michaels)

Get acrylic paint in blue and stencil brushes ( had stored in garage.)

Apply paint with stencil brush.  After you load your brush with paint, dab on paper towels so you don't have too much on your brush.  Start on one edge on stencil, work over the wood and go from there to fill in  the rest of the stencil.  You can make as light or dark as you want.   I  liked my darker.  If you want sharp corners, make sure your press down on the stencil near there when applying the paint. Resist the urge to 'check' under the stencil.  When completed, carefully lift off stencil.   I wash mine with dish detergent to keep it somewhat clean/    


I repeated on the bottom shelft.


I applied several layers of Mod Podge over the shelves

The final results!!

Another view

Inspirational Jar-- "You collected all my tears in your bottle."

Start with glass jar. Paint with craft paint on the outside

Let dry

Apply Bible Verse with glue.   Absolutely love this verse that God takes care of all our sorrows. I printed it off my printer. 

Coat with Modge Podge.   I did several layers OK, the print smeared a little, but you can still read it.  Now wished I would have just done the first two verses.

Not perfect, but holds tall items in my office. 

Shashay Yarn Scaft--so wanted to try this!!

Have been seeing those ruffled yarn scarves for years and wanted to try it.  New Years Day sale a Michaels is up my alley!!! Bought way too much yarn.

It was confusing at first, but got easier as it went along. It may be a little too fat for me, but turned out great.

I have a gold sweater and a fushia and purple and cream  to go with this

Happy with my final project!!!  Took one evening.    
 

A skirt in a day. The pattern said "sew in 2 hours" but I failed the time limit....

I have had the material for a year.  Picked up an easy pattern.. I get so frustrated sewing, I want it don't fast so pick easy-to-sew patterns.  The pattern said sew in 2 hours, but I guess I work slow.  I prewash the material, iron the pattern pieces, use a million pins to pin every thing and mark, mark.   It took me from about 6 to 11:30 PM.  

Found this a my Hancocks-- thought for under $3 give it a try.


Automatic needle threader, the more myopic I get, the more help I need.

Laying out and cutting ...

Demo-- put thread thru hole

Pull the pin out through the open end,

Pull thread length out and cut.  Done.  Thumbs UP from Jill!!!  It came loaded with 6 needles.   You take it apart and reload the needles and threader when empty. HINT: don't use magnetized needles, they don't cooperate to easily.

The finished skirt. I have tons of black and white tops.  Paired it with black tights and wore to work the next day. The length is about 2 inches above my knee, just at  my comfort zone when sitting, my next one I will add a few inches to the bottom (or top??).  It fits, but probably will go up to the next size when I use it again.  Years since I have altered a pattern, know there is a 'correct' way to do it.  

Tulip Wreath

 I made a tulip wreath.  Metal wreath- Dollar Tree, Ribbon- (needed 2) -Walmart Tulips - Hobby Lobby Green mesh(already had at home in craft...