Saturday, October 9, 2021

Fall Wreath from Dollar Tree items

Hello all!  I have been seeing all those "Dollar Tree" wreaths and have made Christmas wreaths in the past and thought I would try my hand with this one.  Got the frame and mesh and pumpkins at Dollar tree.  Ended up not using the ribbon bow, after trying it out decided the colors did not go together.  
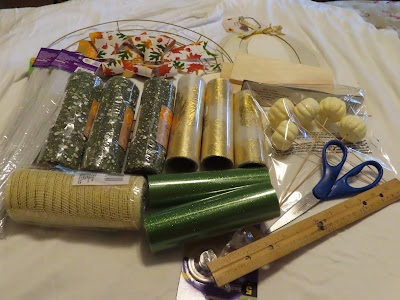


All my goodies gathered together

Getting all the supplies together 


The blank wreath!

I got what mesh I could find that coordinated.  Some of them had glitter, so I laid down and old sheet.

~They looked so pretty even before getting out of the packaging~

                                                              What they look like single ply. 

This was my favorite mesh/ribbon, it is reversible, but I used the gold for the most par t
Rear view.

My favorite front and back side by side

Assembling the "rolls."  I cut my lengths at 6 inches and once I got going was pretty forgiving if the edges were not perfectly even.   For this wreath, the uneven edges were not showing.  This is a break from my perfectionistic personality, I have mellowed in the past years. 


Roll up four each & criss cross, then wrap with pip cleaner (cut in half)

I found out I could use a  clothespin the hold them while I apply the  chenille stems. 

My first bunch


Attaching the bunch to the frame.  I used the ends of chenille stems and twisted around the two middle rings on the frame;


Necessity is the mother of invention.” 

Getting started, I was not sure how many I would need, so as I cut the mesh and put together the bunches, I put them on the frame.  In retrospect, I wish I had done all the bunches and then applied them to keep the colors evened out.  It ended up being pretty much how I wanted it, just did not want all of too much of one color together.

The first section.

Just to see how it looked, I did some all the same color and some mixed.  After I put the on the frame, I decided I like mixed the best and did the majority of them mixed. 

~~The single color bunches~~

The first completed section.

~~Looking fluffy!!~~

~Once I got going, it went pretty quickly.  Took me several hours, just taking my time.~

~~ almost done, took a few bunches lose and rearranged to my satisfaction~~

~~ Added the white pumpkins, used chenille stem to attach to frame in back and cut off the extra length.   Granted, they were not stuck in there forever, but good enough for now.   Thought about gluing them.. but the stems were holding.  Then, trying out the pumpkin, at first thought about stenciling, but that is so tedious for me.  Got pumpkin at Dollar Tree~~


~ ~ Found something to print off to put on the pumpkin sign ~ ~ 

Applied one layer Mod Podge.  Found out that my sponge applicator was falling apart and threw it out and got a new one.  So much for my frugal wash-it-out-and-save-it-for-use later theory. 

My printout .. 

~~Dried Mod Podged pumpkin this is actually the back, the front was not even so thought my printout would lay better on the back~~

OK, so I did not want to free hand this... 

The perfect circle ...


Looking good 

Getting Pumpkin sign ready...

First layer of Mod Podge.   Oh those nasty air bubbles!! I worked and worked to get them out. 

How to attach it?? hmmm- use e6000 glue an some twine on the back, let it dry overnight 

I pulled the twine to the back and secured it firmly 

~Final product!!!  Whee! I like it and it was fun and not frustrating like some projects. ~

~~Put on my front storm door with a suction hook~~

~~Closer view on door~~


~~ It looks like fall around here~~


~~I just love my new wreath!!~~


Thursday, May 21, 2020

Decorations for my Dad's 90th Birthday Party


     I made a lot of decorations for my Dad's Ninetieth Birthday party.     The colors were blue and gold and white and we were playing up the "90." We invited 125 people, sat up 88 chairs and they all were full.   My Dad enjoyed it and gave a 15 minute speech about his life and major things that had happened.   Family and friends shared funny stories, special memories and shared how proud there are of him and what a wonderful person he is.  I planned a Rail Road theme -- my Dad's first job was for the Rail Road and there were so many cute ideas to use. The invitations were a train ticket, they were the best!!!   We made a slide show and a video to share.  I borrowed a Cricuit from a friend and made the banners.  I had a banner over every table and wall, the turned out huge!  I wanted them to be seen.. and they were.  I made big glitter gold and blue 90 "picks" for the centerpieces.   I borrowed the centerpieces from an organization I belong to.    I made fans and made a back drop for a photo backdrop and a huge 90 that I put photos on(will have to show  more of those  and other things later.)  I made fun glasses that looked like 90.  It was a lot of work, but it was fun!!!   One of my friends volunteered to help me with a lot of it.  She is such a sweetheart!!! 


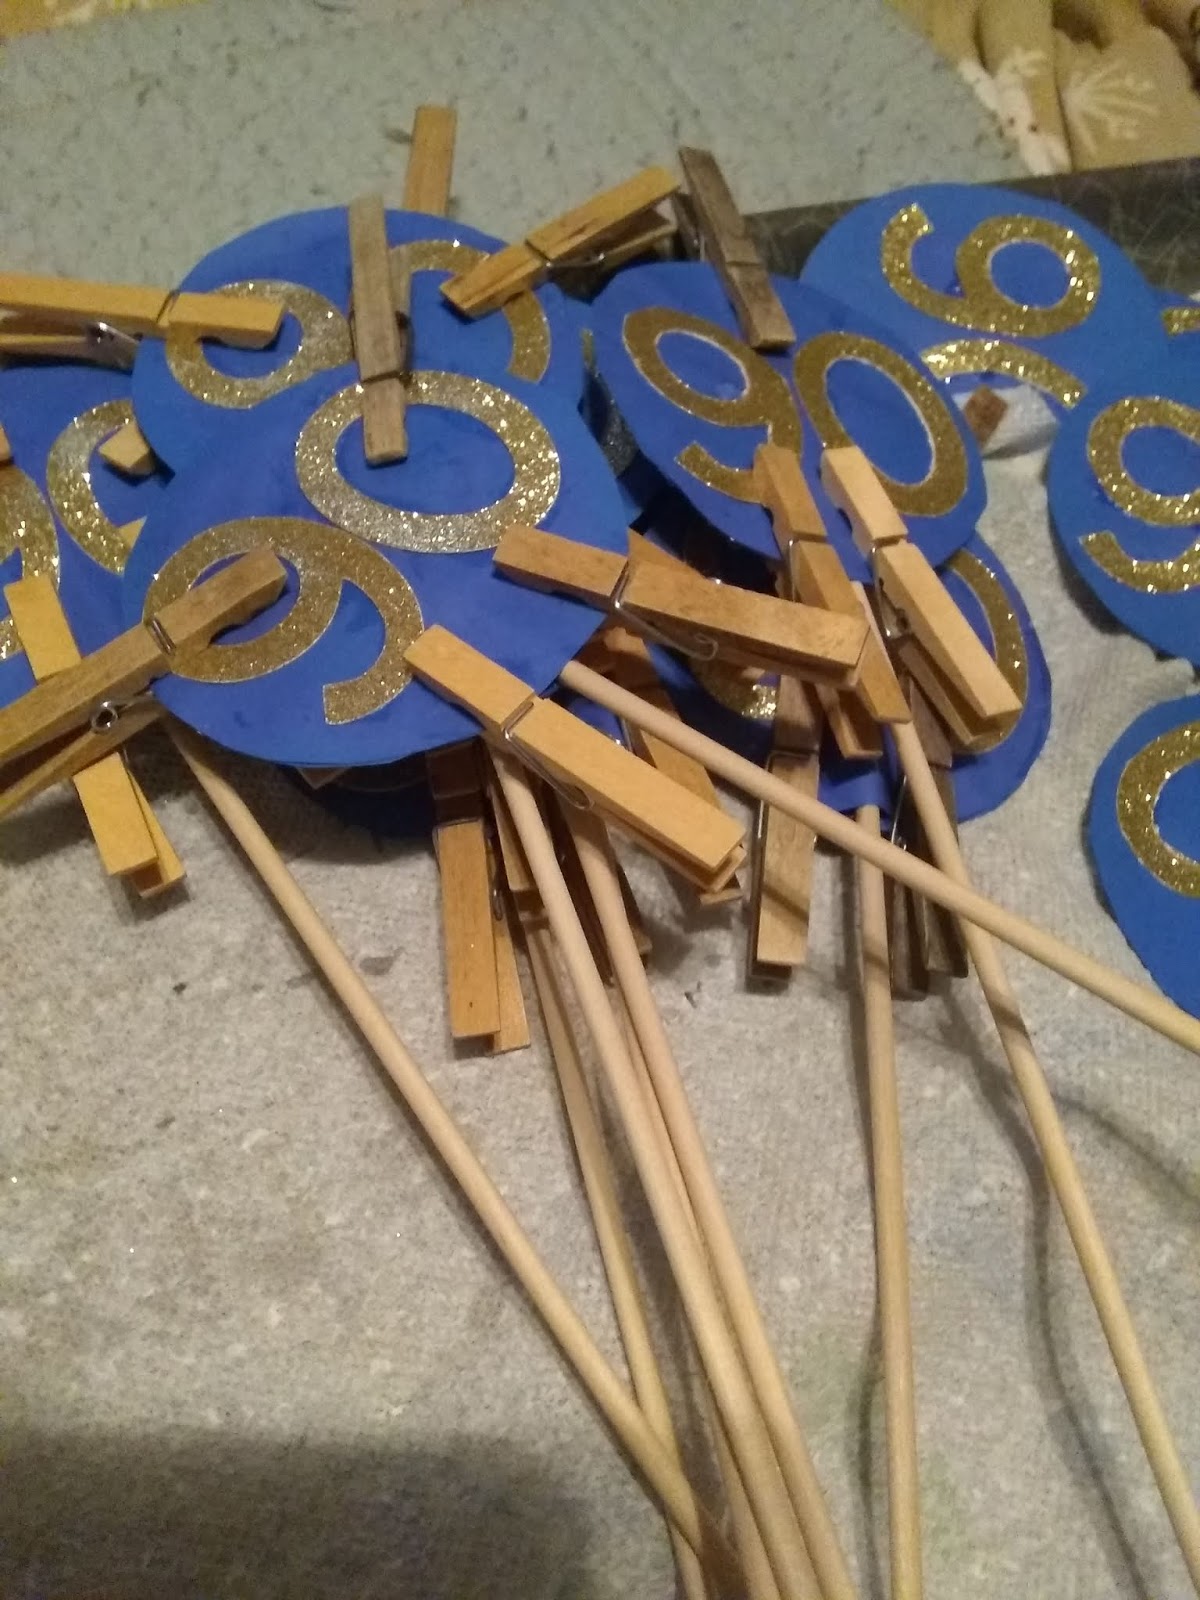
  My "90" PICK


The picks were being  clamped overnight to  make sure they stayed together, clothespins were very useful. 


I was able to borrow the centerpieces and added the picks I made!!  I ordered the silk runners online and they looked so bright and beautiful. Used table glitter -- it was so cute!!!!   BUT,  wished I had NOT, it is very hard to clean up.   


Hobby Lobby was my favorite store and I took advantage of scrapbook paper sales and the coupon I downloaded from their website!!   The Gold glitter  paper was very thick and hard for the cricuit to cut, had to change the blade, but it was  worth it!!!  Love they way they sparkled!  It took a long time, had to cut a 9 and a 0 for the back and front, glue numbers on circle, then glue the two circles together over a dowel (or chopstick!)   I think we ended up doing 48 picks.  We used every glue I had in the house, guess what ?  Plain white glue did best, even better than glue gun!!!

The final product!!!!  They were beautiful!!


I really wanted "fun" stuff at the party and saw some "90" glasses on the internet.. but golly gee, could I make them???  It was a little harder than I thought it would be, but only took about two nights to make them. 
I bought generic plastic glasses at my local store.... less than $5.. 
Popped out the lens, pop, pop, pop!!
Traced around the frame for a  template of the shape... 
Designed  my "90" making sure they were joined together in the middle.   Cut the front out of scrapbook paper, then glued that to cardboard, added some blue glitter stars on the sides and then glued  it to the glasses!!!     Used my handy clothes pins to keep together overnight while the glue dried

The final produce!!!  
Practice run!! 
My test  run!!

BANNERS!!  BANNERS! BANNERS! 


I was so happy the way the banners turned out , I took this one outside to see how it would look hanging up!!!  I loved using different fonts and colors ... 

The Fueling Station was the punch, tea and coffee table   We had a Railroad theme for the party and it was a big hit!!

I made  about four banners to hang in the church hall where we had the party.   I think they turned out great!!!  Cut the letters on Cricuit and cut the rectangles out, glued the letters on the rectangles, punched small holes in the top and stung them up with hemp- type string.  Tried yarn, but it was too flimsy. I have some more banner pics, but will find photos later.


I didn't know when to stop!!  My husband was always asking me if I was done!!  :) I got started planning in July for a December Party.   It was so fun and got to see a lot of family!!!  We had probable 80  people there!!! And about 10 people had to cancel the day of  due to emergencies.. 


Tulip Wreath

 I made a tulip wreath.  Metal wreath- Dollar Tree, Ribbon- (needed 2) -Walmart Tulips - Hobby Lobby Green mesh(already had at home in craft...